
Annie’s Sandy Beaches Cold IPA
Recipe: Annie’s Sandy Beaches Cold IPA Despite it’s lean malt frame and body-lightening adjuncts, cold IPA is well within the reach of homebrewers who like to employ partial-mashes and extracts.
ANNIE JOHNSON Sep 26, 2023 – 3 min read
This cold IPA recipe relies on some lighter extracts, flaked rice, and a shot of hop extract to minimize the hop mass in the kettle. For much more about brewing this style with a partial mash, see Cold IPA, Extracted: It’s a Cold Snap.
EXTRACT
Batch size: 5 gallons (19 liters)
Brewhouse efficiency: 72%
OG: 1.062
FG: 1.009
IBUs: 51-ish
ABV: 6.9%
MALT/GRAIN BILL
6.4 lb (2.9 kg) pilsner liquid malt extract (LME)
2.2 lb (1.5 kg) clarified brown rice syrup
HOPS SCHEDULE
3 ml HopShot at 60 minutes [30 IBUs]
0.5 oz (14 g) Citra at 10 minutes [9 IBUs]
0.5 oz (14 g) Centennial at 10 minutes [7 IBUs]
0.5 oz (14 g) Citra at flameout/whirlpool [3 IBUs]
0.5 oz (14 g) Amarillo at flameout/whirlpool [2 IBUs]
2 oz (57 g) Nelson Sauvin at dry hop 1 oz (28 g) each Citra and Mosaic at dry hop
YEAST
Fermentis SafLager W-34/70 or similar
DIRECTIONS
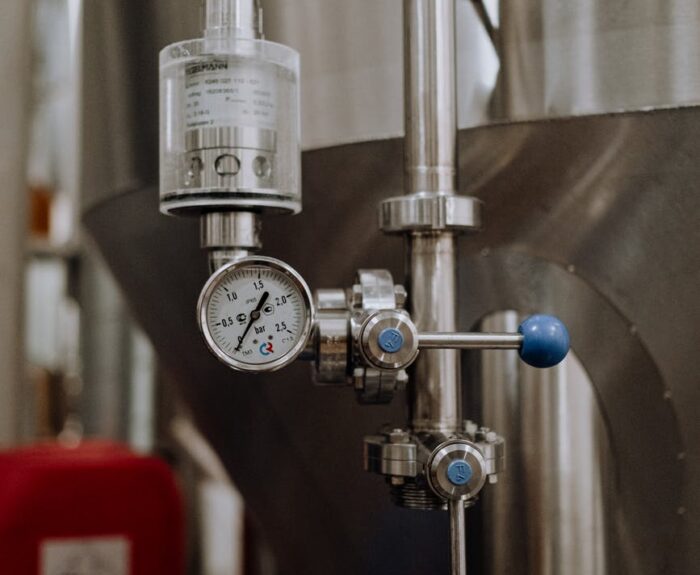
Bring 5.25 gallons (20 liters) of water to a boil, then turn off the heat source. Add the LME and rice syrup, stirring often to dissolve and avoid scorching. Boil for 60 minutes, adding hop extract and hops according to the schedule. After the boil, add flameout hops and stir to create a vortex, allowing 5 minutes to steep. Chill to about 55°F (13°C), aerate, and pitch the yeast (2–3 packets of dried yeast or a healthy starter). Ferment at 55°F (13°C) the first day, then allow free rise to 65°F (18°C). When the gravity has dropped to about 1.013—about 7 days in—rack off the trub into a sanitized keg or other pressure-safe vessel, add dry hops, and attach a spunding valve or set the tank to pressurize to 14 psi. Remove dry hops after 4 days. When fermentation is complete and gravity has stabilized, crash to near-freezing and add gelatin finings, keeping the pressure at 14 psi. Once clear and carbonated, in 5–7 days, transfer to a serving keg or bottle, and enjoy!
BREWER’S NOTES
Cold side: If you don’t have a spunding valve, keg, or pressurized fermentor, you can use buckets or carboys. Just rack to secondary before dry-hopping. Clarity is a virtue here. Be careful to minimize any splashing to avoid oxygen pick-up, purging your vessel with CO2 if possible.
Burley Oak J.R.E.A.M.
This recipe is based on Burley Oak’s series of dessert-like beers that combine lactic acidification, milk sugar, and copious fruit—or, if you prefer, a certain orange vegetable.
ALL-GRAIN
- Batch size: 5 gallons (19 liters)
- Brewhouse efficiency: 72%
- OG: 1.083
- FG: 1.034
- IBUs: 5
- ABV: 6.4% (pre-fruit)
MALT/GRAIN BILL
- 9.2 lb (4.2 kg) pilsner
- 1.6 lb (726 g) white wheat malt
- 1.4 lb (635 g) flaked oats
- 12 oz (340 g) acidulated malt
HOPS & ADDITIONS SCHEDULE
- 2 lb (907 g) lactose at 60 minutes
- 0.25 oz (7 g) Sterling at 45 minutes [5 IBUs]
- 5–10 lb (2.3–4.5 kg) fruit (see below)
YEAST
Omega OYL-605 Lacto or preferred Lactobacillus strain or blend Fermentis SafAle US-05 or similar
DIRECTIONS
Mill the grains and mash at 148°F (64°C) for 60 minutes. Vorlauf until the runnings are clear, then run off into the kettle. Sparge and top up as necessary to get about 6 gallons (23 liters) of wort—or more, depending on your evaporation rate. Boil for 15 minutes, then cover the kettle and allow the wort to cool to 100–110°F (38–43°C). Pitch Lactobacillus and hold the temperature between 90–120°F (32–49°C) for 18–24 hours, until pH has dropped to between 3.1 and 3.4. Then boil for 60 minutes, adding lactose and hops according to the schedule. Chill to 68°F (20°C), aerate well, and pitch the ale yeast. Ferment at 72°F (22°C) until the beer is 75 percent attenuated—i.e., at about 1.046—then add the fruit. Once fermentation is complete, crash to 34°F (1°C), condition 3 days, then rack to secondary. Condition until ready to package and carbonate.
BREWER’S NOTES
Plug your desired fruit into this recipe or go with 1 gallon (3.8 liters) of fresh carrot juice. To evoke carrot cake, consider adding 1 lb (454 g) of dark brown sugar to the boil plus about 0.25 oz (7 g) vanilla beans and 2 cinnamon sticks to secondary for 5 days.
WORT COLOR: LOVIBOND AND SRM
Betsy Roberts
July 8, 2021
For many years, brewers and maltsters alike have come to know and love what has become the universal unit of measure for representing the color of a wort or beer: Lovibond. However, not all color measurement units are created equal, and Lovibond is no exception. We see the “L” suffix tagging along like an old friend after the descriptors of some of our favorite malt types (Caramel Malt 120L, Bonlander® Munich Malt 10L, to name a few!). But what does Lovibond measurement REALLY mean?
THE HISTORY
In 1869, Joseph Williams Lovibond, a member of a brewing family, set out to establish his own brewery as part of the family business. In order to measure the outcome of his beer color and improve its consistency, he searched for a novel method. While observing colored light shining through a church window, Lovibond conceived the idea to utilize glass to create transparent, consistent color standards. It is from this idea that the original Lovibond Tintometer was created, and the research and development of color measurement using this method was born. In the early 1900s, Joseph Lovibond became a pioneer in color measurement for use in various applications, developing innovative instruments to fit the needs of various industries. Applications included the malting, brewing, and distilling industries.
BASIS OF MEASURE
To quote the great 19th-century British scholar Lord Kelvin: “When you can measure what you are speaking about and express it in numbers you know something about it; but when you cannot express it in numbers your knowledge is of a meager and unsatisfactory kind.”
As originally designed by Joseph Lovibond, the basis of measurement for Lovibond testing involves a comparison system of various intensities and hues of colored glass swatches. A series of gradient red-, yellow-, blue-, and neutral-colored glasses are used. The two glass swatches are arranged with two adjacent fields of view, seen through the viewing tube, so that the product in the sample field and a white reflective surface in the comparison field are observed side by side, appropriately illuminated. This is known as the Lovibond® color scale.
EVOLUTION OF MALT AND BEER
As technology for measurement and analysis continued to advance throughout the mid-20th century, malt supply and beer styles evolved as well. Alongside these advancements was the move toward a more cohesive method for measurement and reporting of a variety of malt and beer analysis parameters, driven by collaboration and research within the ASBC (American Society of Brewing Chemists).
At the same time, the brewing industry was moving toward lighter beer styles (including pilsners and lagers) and the methods of analysis became more unified. The need for a diverse and highly specific method of color analysis started to become less important in the American malt and beer supply system. This resulted in the creation and adoption of the most utilized method of color measurement in the present day: the Standard Reference Method (SRM). As the transition in methodology was gradual, the Lovibond unit of measure became interchangeable with SRM. In reality, there is close correlation in the values obtained for the same sample by these two methods up to a certain point of measure.
COLOR MEASUREMENT TODAY: SRM
The creation of the current method of color analysis was likely born out of a need for high volume, consistent analysis of a small range of similar malt types (think 1.5 – 3.0 SRM). Its validation as a method for those styles of malts resulted in a repeatable method for inter-lab and intra-lab analysis, allowing for more uniform interpretation of color results reported throughout the malt industry. Briess currently reports color in SRM.
The general basis for SRM color measurement is as follows: Preparation of wort using ASBC Congress Mash protocol, which creates a wort of about 9 Plato. Analysis of that wort sample using a Spectrophotometer measuring the absorption of that sample at 430nm. This analysis is done at varying dilutions as the absorption at that wavelength increases. So the actual captured absorption of any wort sample lies within what is primarily the yellow range of the visible spectrum, hence its creation and suitability for use in primarily base-kilned malts. The piece we lose by utilizing this as a standard analysis is the hue component of some of the darker specialty malts that are appreciated for providing specific colors to craft beer.
SUMMARY
As the industry has evolved to include more specialty malts, the universally approved methodologies to measure and report the wide range of colors they can provide have not been able to measure the full spectrum (pun intended!) of their hues. In recent years the ASBC has included methods for Tristimulus color of worts (ASBC Beer-10C), which would now be able to meet the need of what Lovibond once did. Generally, reporting of a Tristimulus analysis is not widely used on Malt COA’s and would require some education to the brewing community for interpretation of results. In contrast, the Lovibond method of analysis continues to be widely used in the food oils and petroleum industries. Its use has become a renewed topic of conversation for maltsters and the ASBC technical committee, specifically for representing hues of all the wonderful specialty malts available. Lovibond remains like an old friend paired with the malts we’ve made for generations.